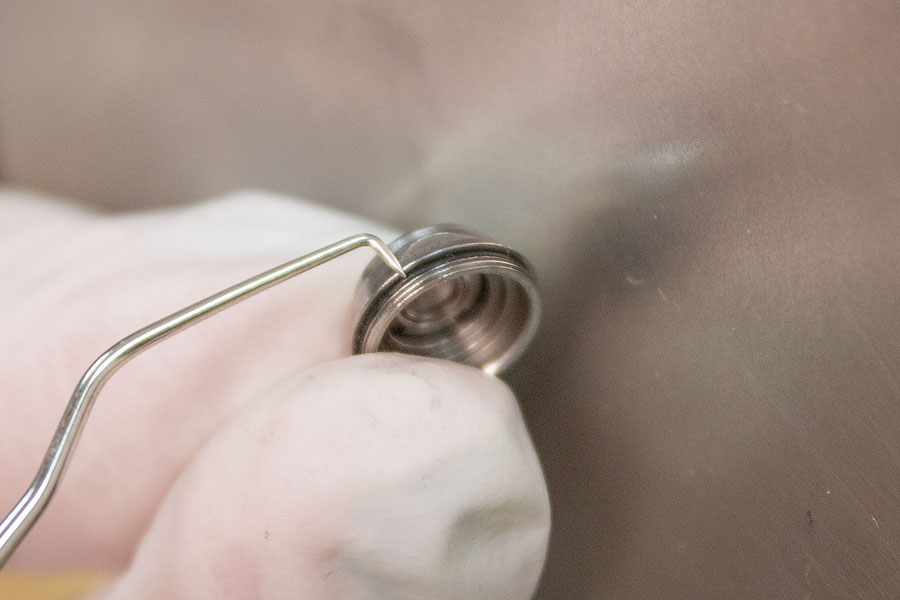
After reviewing the training video and STEP-by-STEP instruction sheet, install the blank bur provided with your EZ Press. Tap the bur against the counter and try to pull it out using your fingers. If bur pulls out call ProScore for replacement spindle/collet.
STEP 1
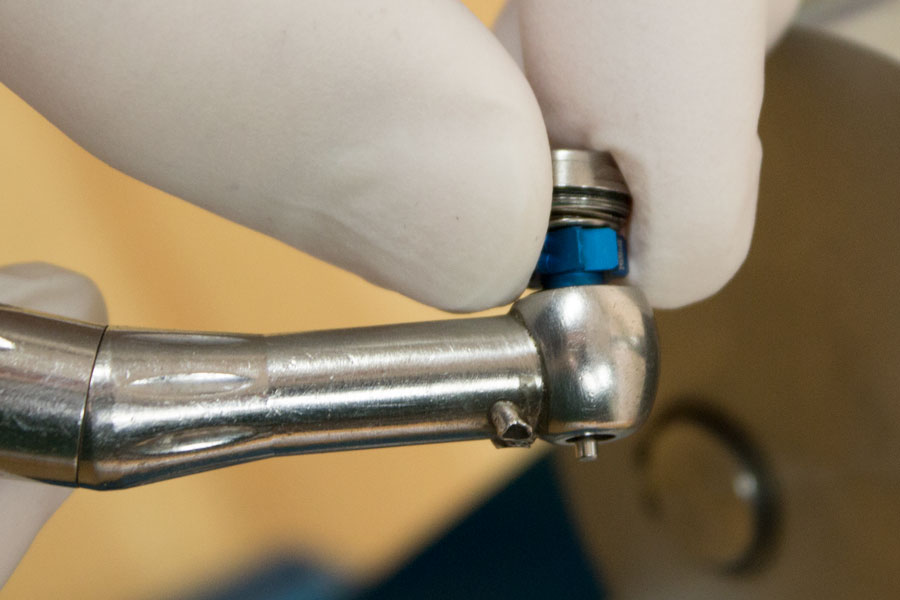
Loosen head cap using appropriate cap wrench and remove turbine. If head cap and turbine come out together, separate and set head cap aside. Place Insert B under the spindle ram and Insert L1 under the bearing ram.
STEP 2
Place the turbine into Insert B with the bur going down through the hole. Insert the skinny end of the EZ Push Button Protector up into the Spindle Ram and hold in place with your fingers.
STEP 3
Slowly pull the handle down until the protector meets the rear of the spindle and covers the button. Make sure everything is aligned and pull down or tap the handle firmly to push out the autochuck and disassemble the turbine. The autochuck will fall into the tray below and the impeller will remain sitting on insert B.
STEP 4
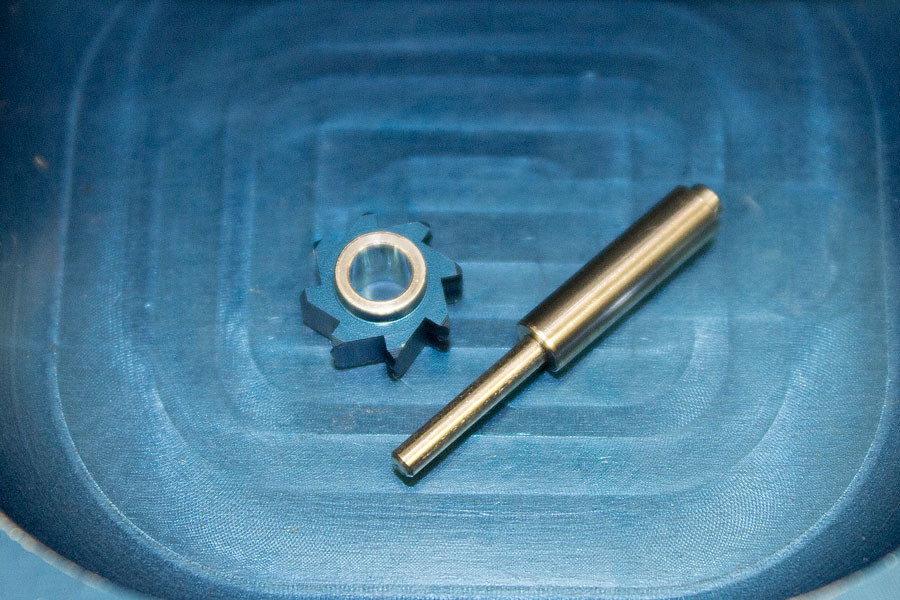
Discard old bearings, slinger and o-rings. Inspect the impeller for any chips, cracks or worn blades and the autochuck for any defects. If any damage is found contact ProScore for a replacement.
STEP 5
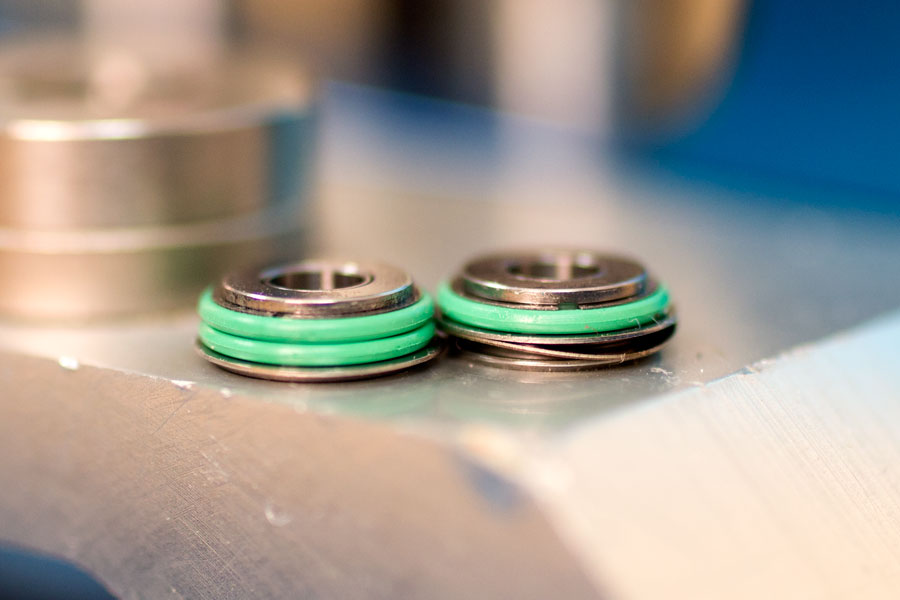
Open your rebuild kit and compare the 2 bearings. The front bearing has 2 green o-rings. The rear bearing has 1 green o-ring. Pick up the rear bearing.
STEP 6
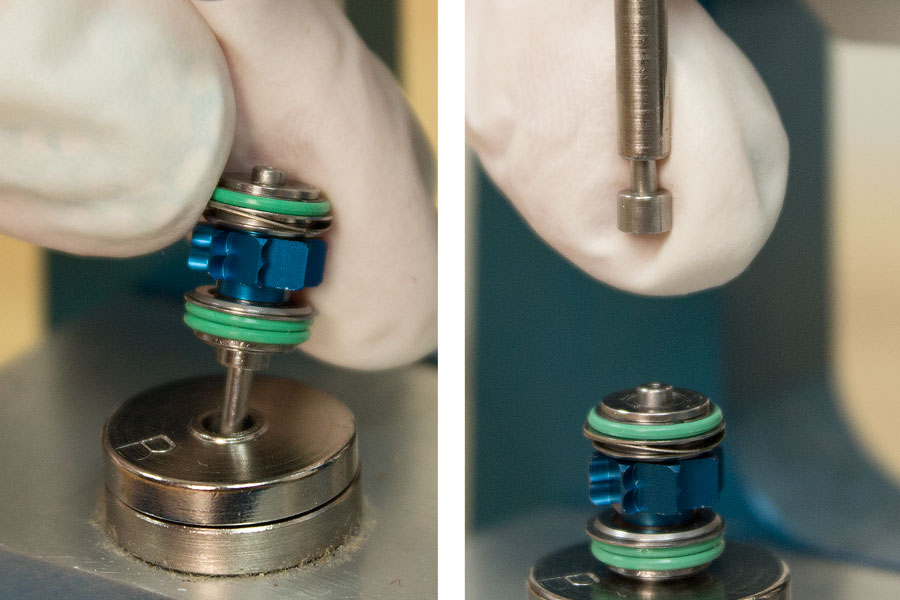
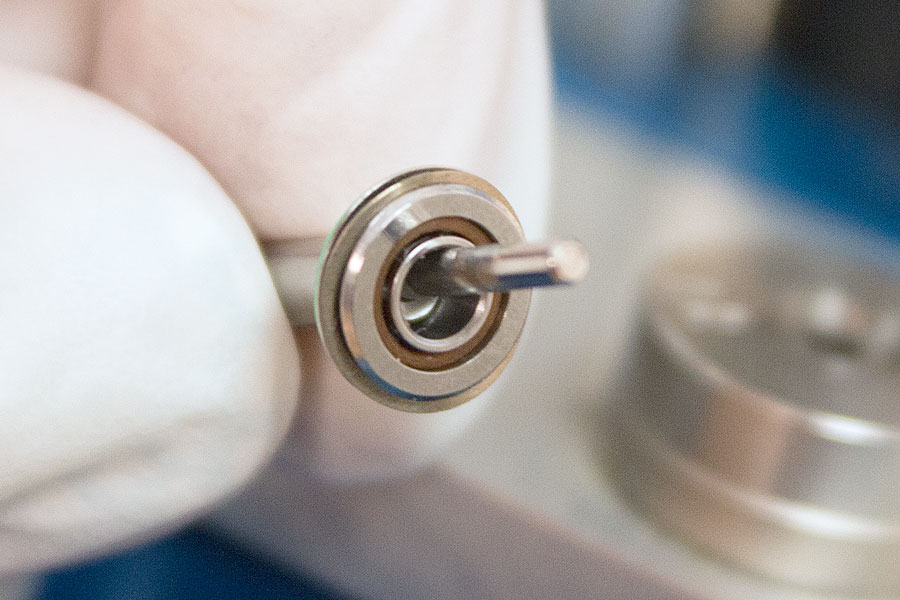
Pick up the spindle/collet and hold it so the bur points up. Drop the rear bearing over the bur so the shielded side faces down - away from the bur.
DO NOT PRESS ON WITH FINGERS! BEARINGS ARE FRAGILE!
STEP 7
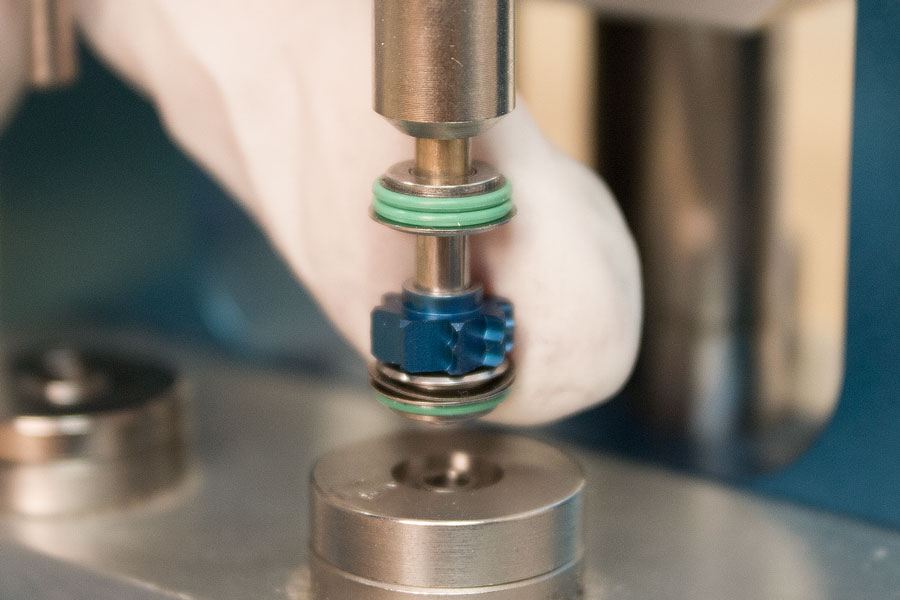
Once the bearing is in position, feed the blank bur up into the Bearing Ram. Slowly pull down on the handle while holding the spindle in place until the button meets and is aligned in the center of Insert L1. Gently press down until the bearing stops on Insert L1.
STEP 8
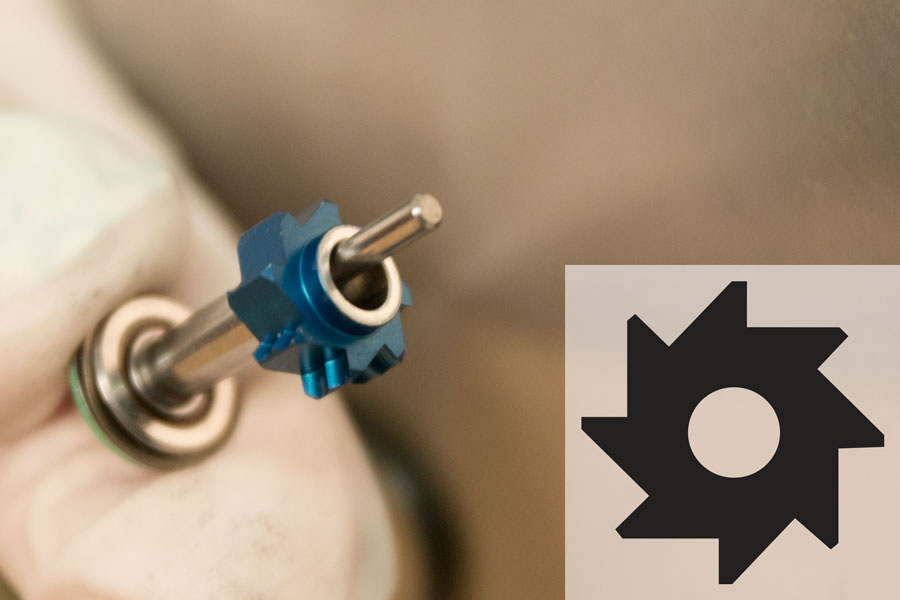
Locate your impeller and place it over the bur so that with the bur facing you the blades cup to the
RIGHT.
STEP 9
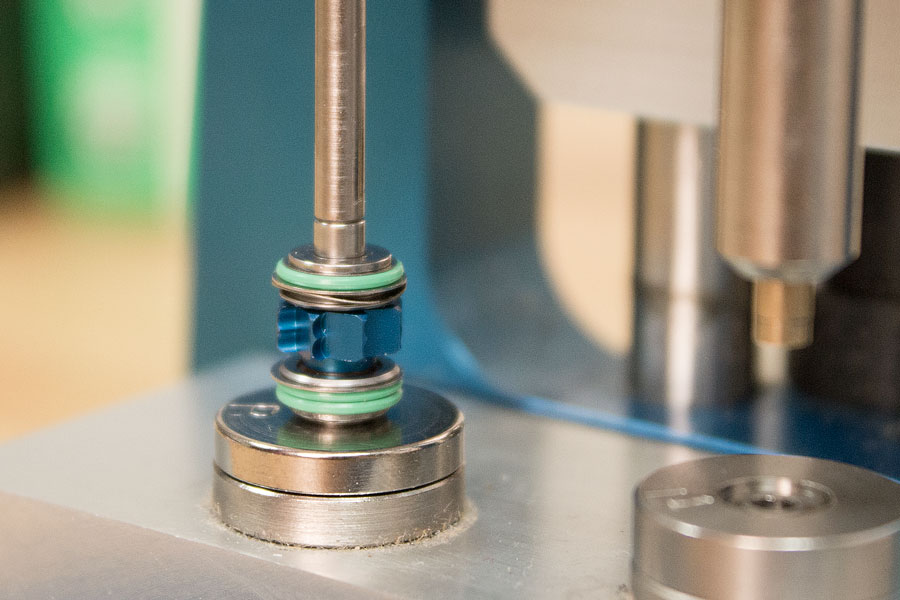
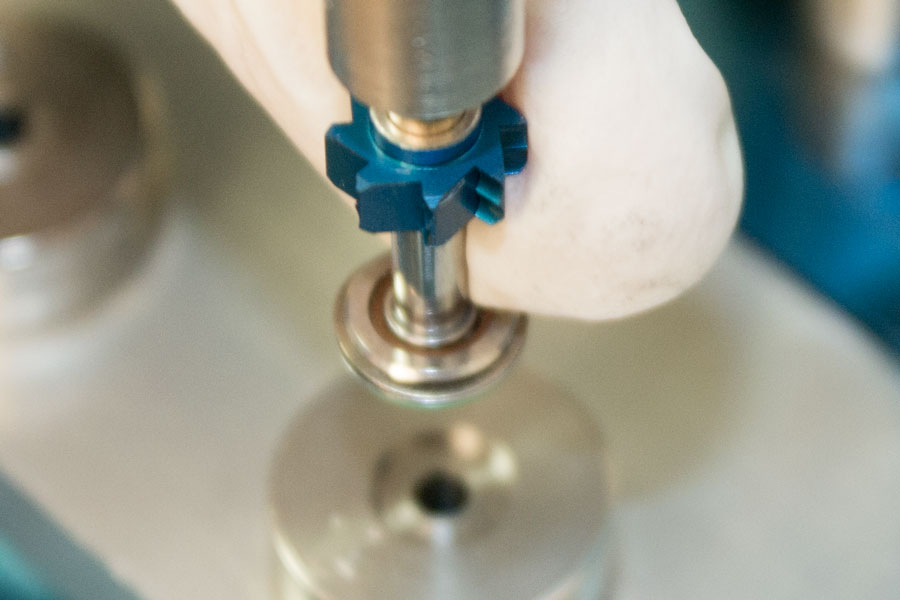
Feed the blank bur up into the bearing ram and repeat the pressing process with the impeller, making sure that the the larger lip faces up towards the bur. Press on until it stops at the bearing.
STEP 10
Drop the front bearing over the bur so the shielded side is facing up towards the bur. Repeat pressing process until bearing comes to a stop when it reaches the impeller.
STEP 11
Drop the slinger over the bur so the raised lip is facing down towards the front bearing.
Make sure the slingers aligned before pressing on. If it is crooked, damage will occur. Gently press handle down until slinger comes to a stop at the front bearing. Now your turbine is rebuilt.
STEP 12
replace the headcap o-ring found above the threads on the outside of the cap with one included in the rebuild kit.
STEP 13
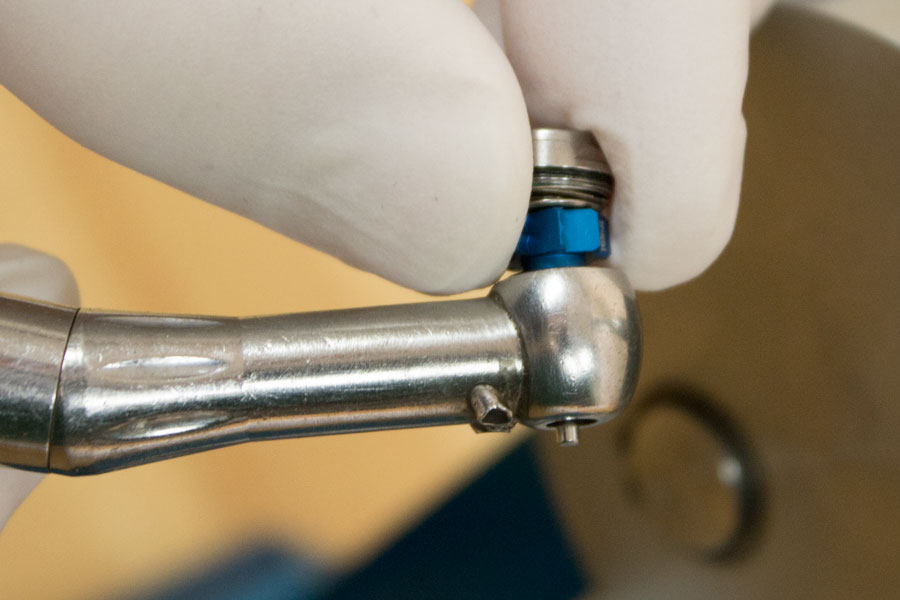
Seat your rebuilt turbine into the headcap and install into the head of the handpiece. Tighten cap down completely and make sure the bur releases. Connect the handpiece and run with bur installed.
If the headcap heats up while testing, remove the turbine and re-inspect the head with an explorer to make sure no debris was overlooked.
If clean, remove Insert L1 and replace with Insert 3. Feed the turbine, blank bur up, into the Bearing Ram. Slowly pull down on handle while holding turbine in place until it meets Insert 3. Be sure everything is properly aligned then apply gentle pressure to the handle until you feel a slight shift of the parts. Re-install and test. If problem persist contact ProScore for technical support.