After reviewing the training video and STEP-by-STEP instruction sheet, install the blank bur provided with your EZ Press. Tap the bur against the counter and try to pull it out using your fingers. If bur pulls out call ProScore for replacement spindle/collet.
STEP 1
Loosen head cap using appropriate cap wrench and remove turbine. If head cap and turbine come out together, separate and set head cap aside.
STEP 2
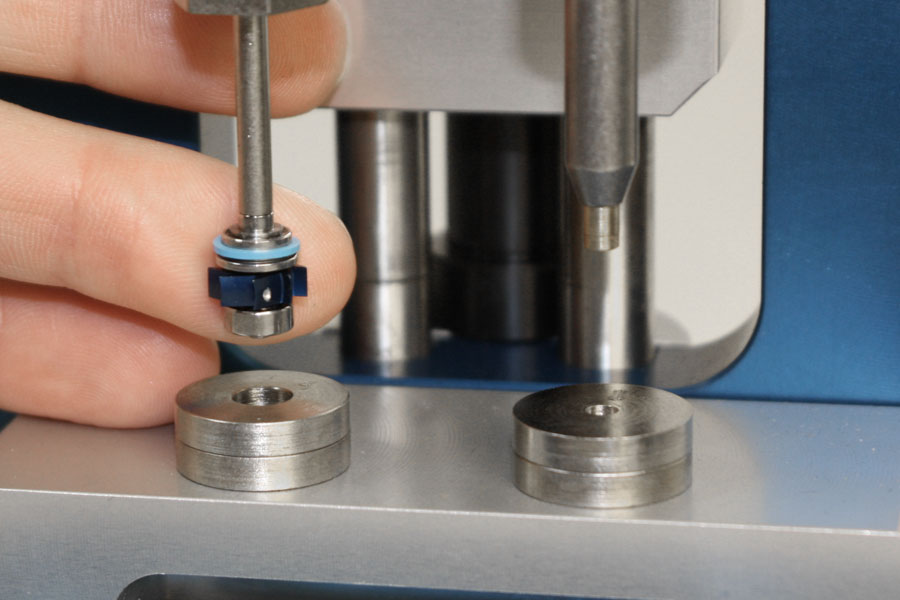
Place Insert A underneath the Spindle Ram on the left side of the press. Pick up the turbine and feed the bur up into the Spindle Ram. While holding the turbine in place, slowly pull down on the handle until the rear bearing is resting on Insert A. Verify alignment, then pull down firmly on the handle.
STEP 3
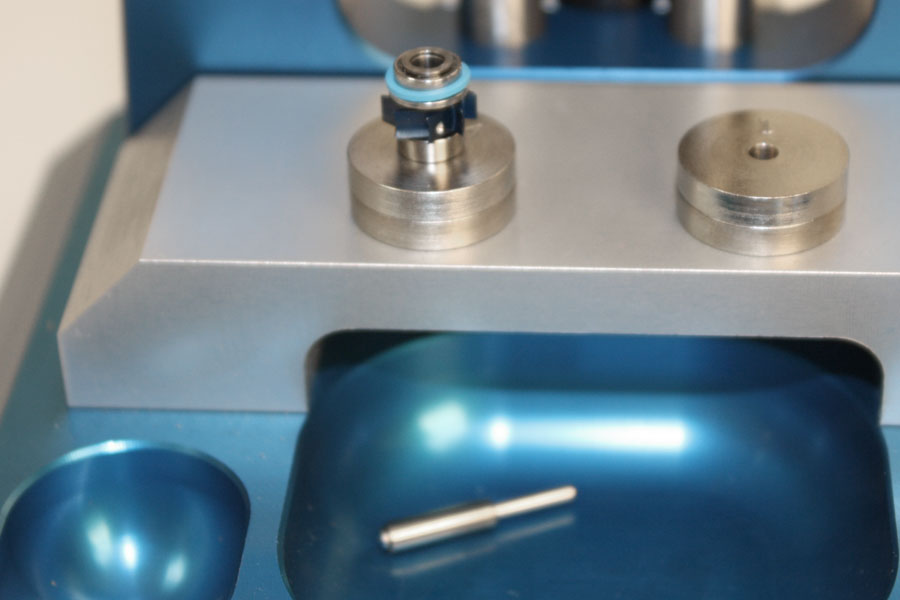
The spindle will be pressed out through the hole in the center of Insert A and fall into the tray below. The old bearings and impeller will remain on Insert A.
STEP 4
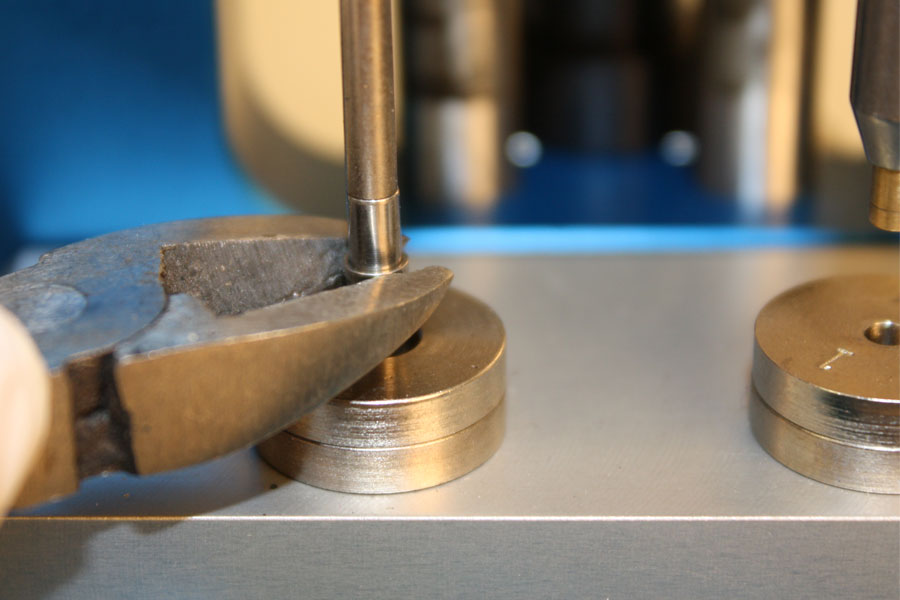
Discard both old bearings and inspect the impeller for any damage. If damage is detected call ProScore for replacement. Examine spindle to verify that the inner-race of the old rear bearing has not remained on the spindle. It will look like a shiny ring with a groove in it. If the inner-race is still on the spindle, grasp it tightly with a pair of hemostats or cutting dikes. Feed the bur up into the Spindle Ram on the left side of the press and repeat the pressing procedure, making sure that the flange on the end of your spindle clears the hole in Insert A. The inner-race will be pushed off of the front of the spindle.
STEP 5
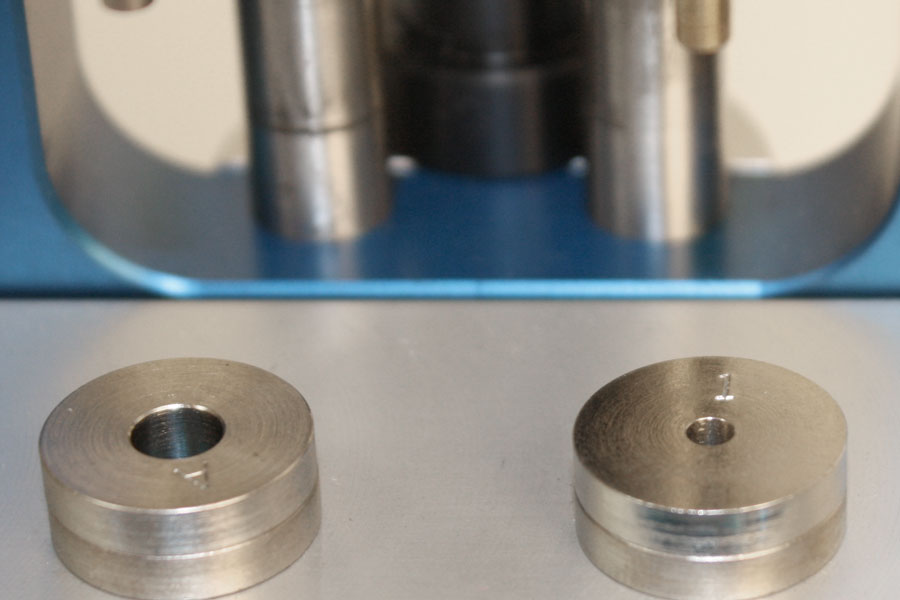
Locate Insert 1 and place underneath the Bearing Ram on the right side of the press.
STEP 6
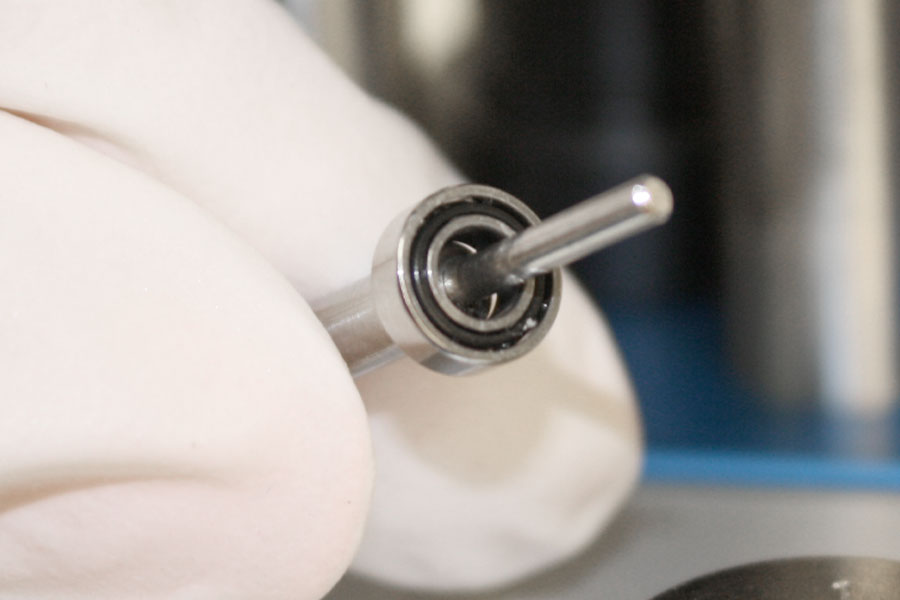
Open your rebuild kit and locate the smooth rear bearing. It will be the smaller of the two. Place the bearing over the bur so the side with the visible balls faces down away from the bur.
STEP 7
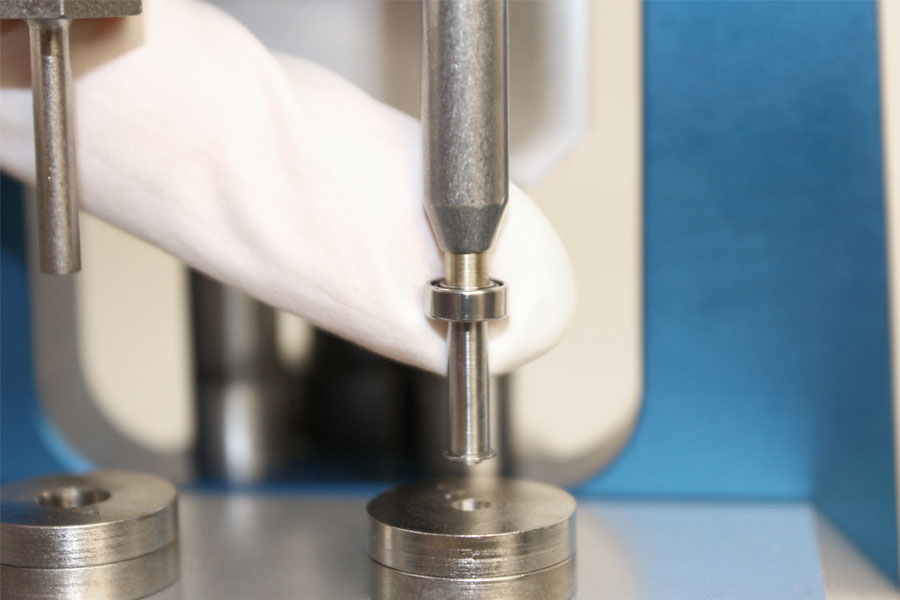
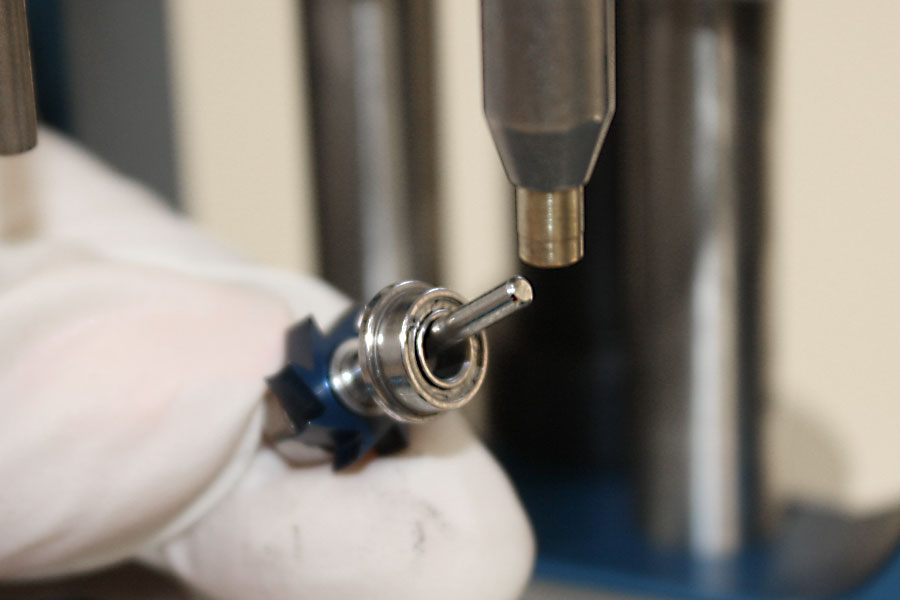
Feed the bur up into the Bearing Ram on the right side of the press and hold in place. Slowly pull down on the handle until the rear of the spindle meets Insert 1. Verify alignment, then gently press the bearing onto the spindle until it comes to a stop.
STEP 8
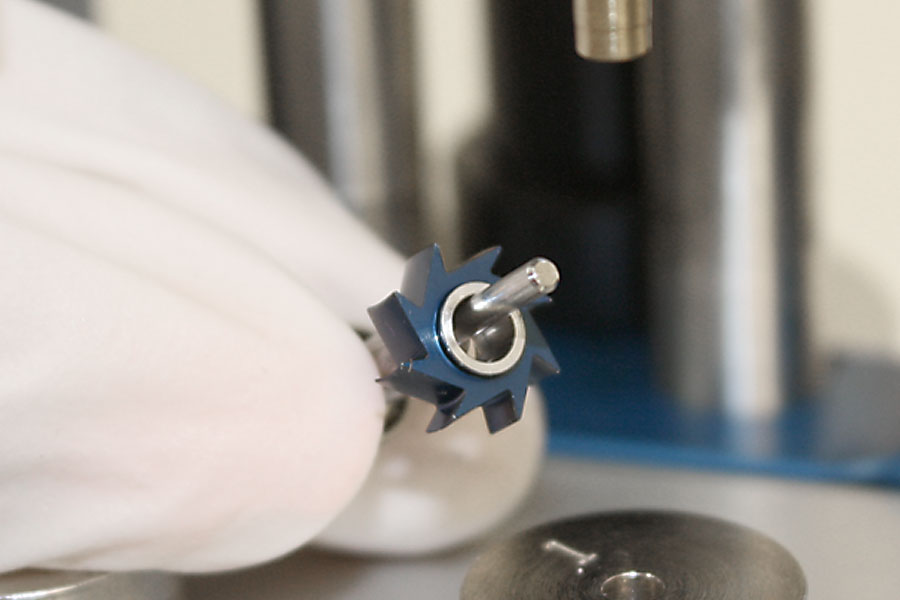
Locate your impeller and place it over the bur so that with the burfacing you the blades cup to the
RIGHT. Repeat the pressing procedure until the impeller comes to a stop.
STEP 9
Locate the flanged front bearing and feed it over the bur so that the wide flange will be towards the impeller. Repeat the pressing procedure. Locate the tight spacer washer and feed it over the bur until it rests at the end of the spindle. Repeat pressing process. If this washer slides all of the way on by hand it is the wrong washer. Call ProScore for replacement.
STEP 10
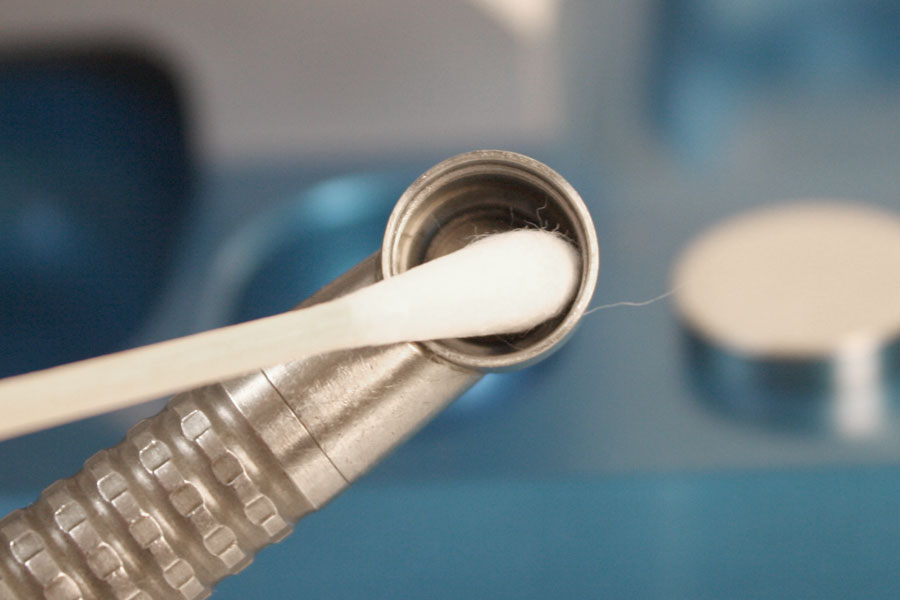
Using an explorer remove any o-rings and debris from the head of the handpiece. Also remove the old o-ring from the head cap. Inspect the head and head cap for debris and clean thoroughly using a cotton swab and handpiece cleaner. If any debris or c-clip is overlooked the turbine may not fit back into either the head cap or head and may bind.
STEP 11
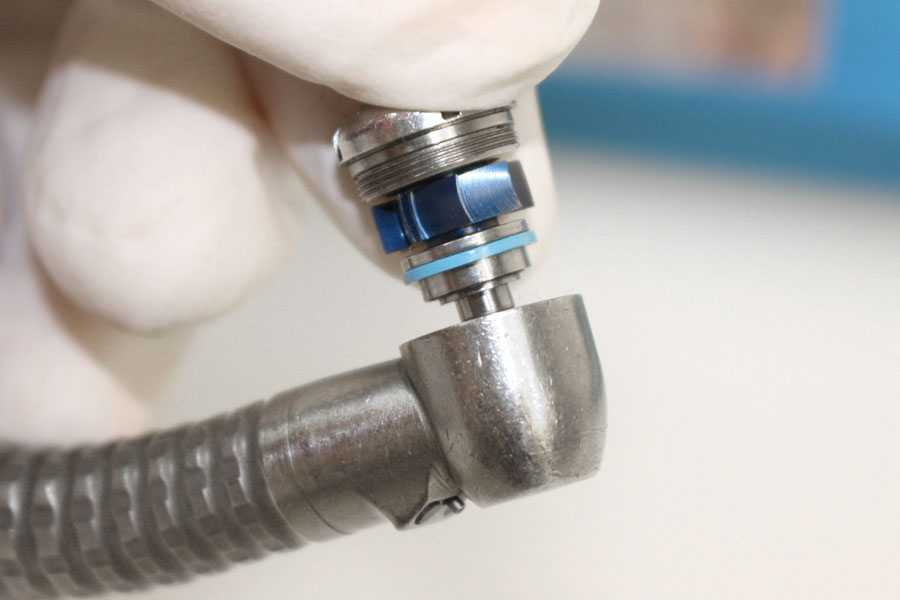
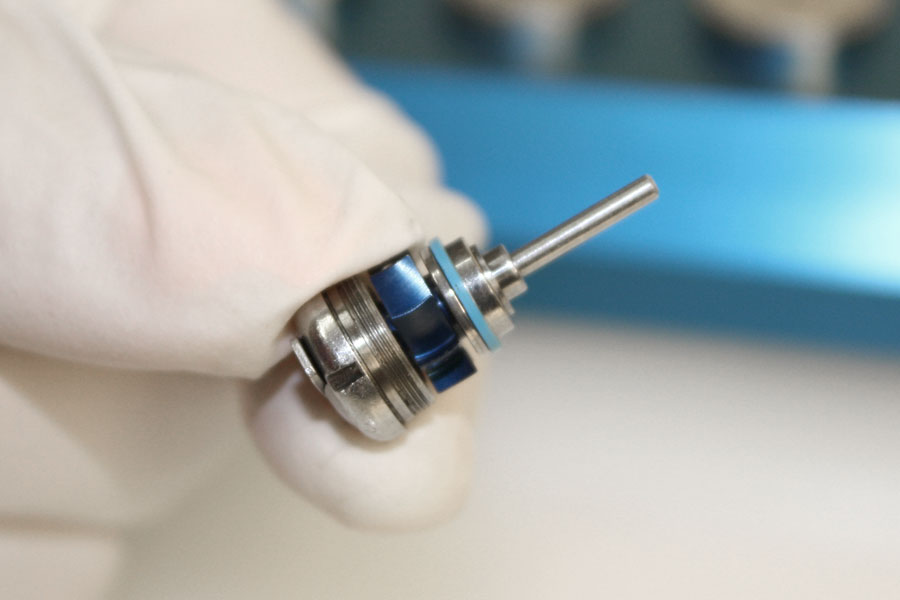
Place the blue quad o-ring directly on the STEP of the flanged front bearing. Seat the black o-ring into the groove in the head cap. Seat rebuilt turbine into head cap.
STEP 12
Hold the handpiece so the head points towards the ground and install the turbine and head cap. Check the bur for resistance as you tighten the head cap. If you notice any resistance, remove the turbine and re-install. If problem persists, call Tech Support.